New Range Hood Installation: Wall Venting Basics
Thinking about adding a range hood where there wasn’t one before? Here’s what homeowners should know about venting safely and effectively through an exterior wall.
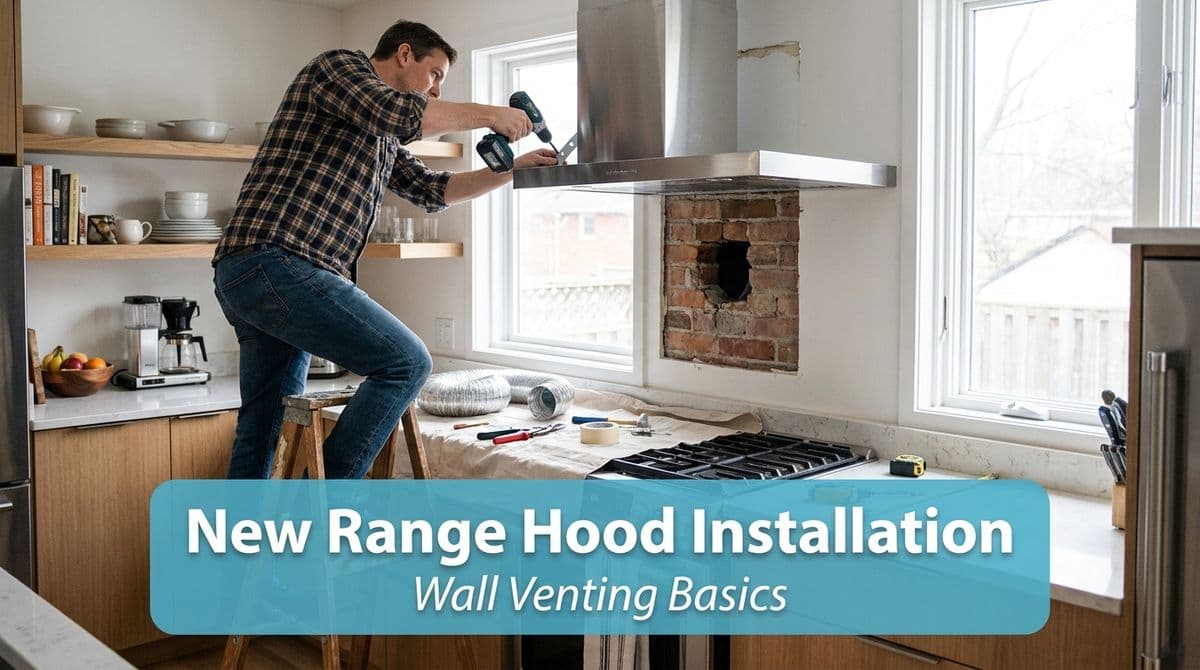
“Can You Cut a Hole in My Wall?” – A First-Time Range Hood Install
We recently got a call from a homeowner — let’s call him Tom — who had just bought a new 30-inch range hood for his kitchen. The catch? There had never been a hood there before.
Tom said, “I already own the range hood. I just need someone who can completely install it, including cutting the hole through the wall to the outside.” That one line sums up what makes these projects a little different: you’re not just hanging a new appliance, you’re changing how your home vents air, grease, and moisture.
If you’re thinking about installing a range hood where there wasn’t one before — especially venting it through an exterior wall — here’s what we walk our customers through before we ever cut a hole.
Step One: Know What You Already Bought
Tom, like many homeowners, had already purchased his hood. That’s perfectly fine, but it does shape how the project needs to be done. Before we schedule an install, we always double-check a few basics:
- Size: His hood was a common 30-inch model, sized to match a standard 30-inch range. Ideally, your hood should be at least as wide as the cooktop.
- Type: Is it a ducted hood (vents outdoors) or a ductless / recirculating hood (filters and blows air back into the kitchen)? For exterior wall venting, you need a ducted hood or a convertible model with the duct kit installed.
- Required duct size: The installation manual will tell us what duct diameter the fan is designed for (often 6" or 8"). This matters a lot for performance and noise.
If you’re still shopping, it’s worth checking the required duct size and vent location on the hood before you buy, so we can plan the shortest, straightest route through the exterior wall.
Planning the Route Through the Exterior Wall
Tom’s main question was, “Can you just cut a hole straight through the wall behind the stove?” Sometimes the answer is yes — but not always. Before we ever touch a saw, we work through a quick checklist:
- What’s inside the wall? We look for plumbing, electrical, gas lines, and vent stacks that might be in the way.
- What’s on the outside? We check for decks, porches, gas meters, windows, and any architectural features that could interfere with the vent hood cap.
- Wall construction: Is it standard framing with siding, brick veneer, stucco? Each one changes how we cut and seal the penetration.
Often, the “straight shot” is best: a short duct run directly out the back of the hood to a wall cap on the exterior. That keeps the fan efficient and quieter. But if the wall is blocked by something structural or mechanical, we might need to offset slightly and add an elbow — which we try to minimize to keep airflow strong.
Why Proper Venting Matters (Not Just Any Hole Will Do)
It’s tempting to think of this as just “cutting a hole in the wall,” but that’s the fastest way to end up with drafts, moisture problems, and a noisy, underperforming fan. Here’s what we focus on:
- Correct duct size: If your hood calls for a 6" duct, we don’t neck it down to 4" just because it’s easier. Reducing duct size can make the fan loud and ineffective, and may void the warranty.
- Smooth, rigid duct: We use smooth metal duct, not flexible dryer-style hose, for better airflow and easier cleaning.
- Shortest, straightest run: Every extra elbow reduces performance. Exterior wall vents usually let us keep the run very short.
On the exterior, we install a proper wall cap with a backdraft damper and a weather hood. That keeps rain, pests, and cold air out while letting steam and cooking fumes escape.
Protecting Your Home’s Exterior and Insulation
Anytime we cut through an exterior wall, we treat it like a weather penetration, not just a carpentry task. For Tom’s kind of project, we typically:
- Carefully cut the opening through drywall, sheathing, insulation, and siding (or brick/stucco) to the right size for the duct and hood cap.
- Install the duct with a slight pitch to the outside so any condensation drains outward, not back into the wall.
- Seal around the duct and wall cap with appropriate flashing, sealant, and insulation so there are no drafts or water leaks.
The goal is that once the hood is in, your wall should be just as weather-tight as it was before — only now it’s actually removing moisture instead of trapping it inside.
Electrical and Mounting: Don’t Skip the Details
Homeowners often ask what else needs to be in place besides the hole. Here’s what we look for:
- Power source: Some hoods plug into a nearby outlet; others must be hardwired. We make sure the circuit is properly sized and up to code.
- Cabinets and framing: We locate studs and cabinet structure so the hood is securely fastened and level.
- Clearances: The bottom of the hood must be installed at the height specified in the manual (usually 24–30" above an electric cooktop, a bit more for gas).
Those small details are what separate a rattly, smoky kitchen from a hood that quietly does its job every time you cook.
How to Prep Your Kitchen Before We Arrive
If you’re in Tom’s situation — new hood, no existing vent — a little preparation can make the project smoother and faster:
- Have the hood, manual, and any included duct/vent kits on site.
- Clear the cooktop and surrounding counters so we have room to work.
- Let us know if there are any known pipes, wires, or vents in the wall behind the stove.
- If possible, share a photo of the exterior wall where the vent would exit.
From there, our job is to make sure the installation is safe, code-compliant, and built to last — not just the quickest way to get a fan on the wall.
Thinking About Adding a Range Hood? We Can Help
Whether you’ve already bought your hood like Tom or you’re still in the planning stage, installing a range hood where there wasn’t one before is absolutely doable — it just needs to be done thoughtfully. If you’d like help choosing the right venting route, sizing your duct, or handling the cutting and finishing through your exterior wall, we’re happy to take a look and walk you through your options.